หลักการและเหตุผล
การให้บริการ web ให้ปลอดภัยต้องมีการเข้ารหัสข้อมูลโดยเฉพาะ web ที่มีการ log in ด้วย username, password ของ Account หรือบัญชีใด ๆ ซึ่งเทคนิคที่ใช้กันคือ https หรือ http over SSL ซึ่งการจะทำได้นั้นจะต้องมี SSL certificate ที่ออกจากผู้รับรองที่น่าเชื่อถือซึ่งมีค่าใช้จ่าย
Let’s Encrypt เป็นผู้ออกไปรับรอง SSL certificate ที่ใช้งานได้โดยไม่เสียค่าใช้จ่าย แต่ใบรับรองจะมีอายุเพียง 90 วัน ทำให้ต้องใช้เครื่องมือในการต่ออายุใบรับรองแบบอัตโนมัติ
บทความนี้จะนำวิธีการใช้งาน SSL certificate ของ Let’s Encrypt บน web server NginX บน Ubuntu 14.04
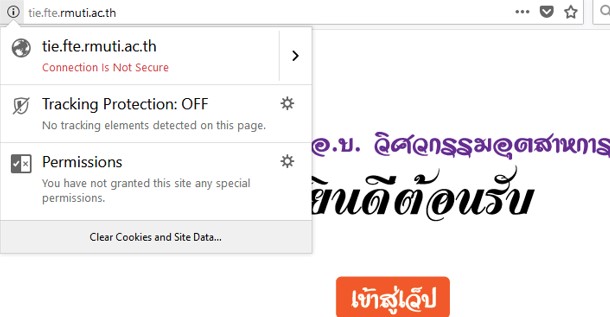
ตัวอย่าง Host ที่ใช้ทดสอบ คือ tie.fte.rmuti.ac.th ที่ยังไม่ได้ใส่ SSL
เครื่องมือที่ใช้สำหรับการขอใช้งาน Let’s Encrypt certificate คือ certbot สามารถเข้าไปดูวิธีการติดตั้ง certbot ได้ที่คู่มือการใช้งานบนเว็บไซต์ certbot ในการใช้งานบนระบบปฏิบัติการอื่น
1.ตั้งเครื่องมือตาม cli นี้
sudo apt-get install software-properties-common
sudo add-apt-repository ppa:certbot/certbot
sudo apt-get update
sudo apt-get install python-certbot-nginx
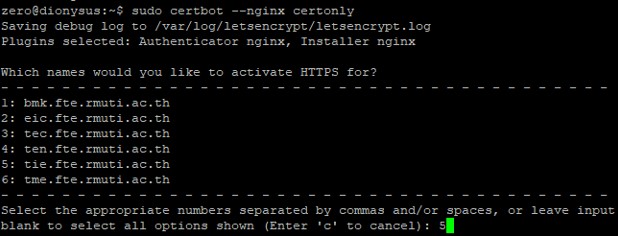
2. เริ่มใช้ certbot ในการขอ certificate
sudo certbot –apache certonly
ระบบจะถาม ให้เรากรอกข้อมูล email address และ agreeing to its Terms of Service จากนั้น
ระบบ จะให้เลือก site ที่ activate อยู่ในเครื่อง โดยกดเป็นตัวเลข site ที่เราจำทำ SSL
ในที่นี้เราจะเลือกหมายเลข 5 คือ site tie.fte.rmuti.ac.th
จากนั้น certbot จะทำการสร้าง ssl แล้วเก็บไฟล์ไว้ที่ ตามข้อความในรูป
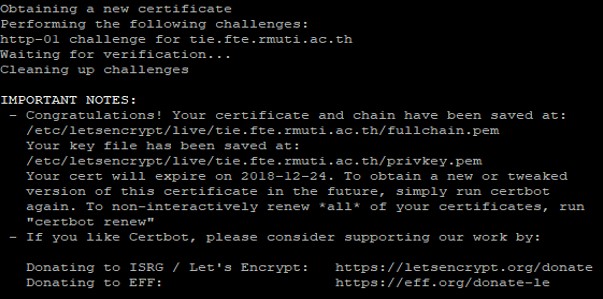
3.เมื่อเราได้ ไฟล์ ssl เป็นที่เรียบร้อย ขั้นตอนต่อไปคือ การนำคีย์มาใช้งาน โดยสร้างไฟลใหม่ ดังตัวอย่าง
sudo nano /etc/nginx/sites-available/tie-fte
******************************************************
server {
listen 80;
root /home/tiefte/public_html;
index index.php index.html index.htm;
server_name tie.fte.rmuti.ac.th;
return 301 https://$server_name$request_uri;
}
server {
listen 443 ssl;
root /home/tiefte/public_html;
index index.php index.html index.htm;
server_name tie.fte.rmuti.ac.th;
ssl on;
ssl_certificate /etc/letsencrypt/live/tie.fte.rmuti.ac.th/fullchain.pem;
ssl_certificate_key /etc/letsencrypt/live/tie.fte.rmuti.ac.th/privkey.pem;
include /etc/letsencrypt/options-ssl-nginx.conf;
ssl_dhparam /etc/letsencrypt/ssl-dhparams.pem;
location /home/ {
try_files $uri $uri/ /home/index.php?q=$request_uri;
}
location ~* ^.+\.(jpg|jpeg|gif|css|png|js|ico|html)$ {
access_log off;
expires 30d;
}
location ~ /\.ht {
deny all;
}
location ~ \.php$ {
include /etc/nginx/fastcgi_params;
fastcgi_pass unix:/var/run/php-fastcgi/php-fastcgi.socket;
fastcgi_index index.php;
fastcgi_param SCRIPT_FILENAME /home/tiefte/public_html/$fastcgi_script_name;
fastcgi_param QUERY_STRING $query_string;
fastcgi_param REQUEST_METHOD $request_method;
fastcgi_param CONTENT_TYPE $content_type;
fastcgi_param CONTENT_LENGTH $content_length;
}
}
******************************************************
4.แล้วใช้คำสั่ง
sudo ln -s /etc/nginx/sites-available/tie-fte /etc/nginx/sites-enabled/tie-fte
sudo nginx –t
sudo /etc/init.d/nginx restart
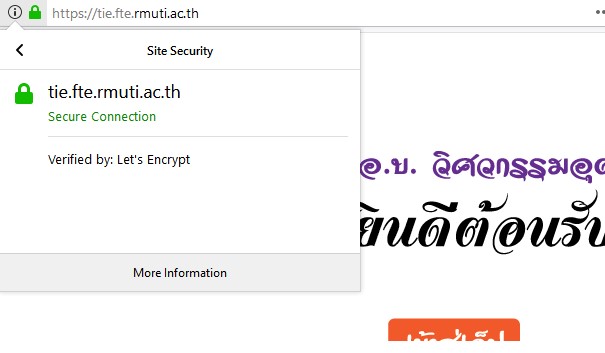
5.เว็บไซต์จะมี https โดยใช้ใบรับรองของ Let’s Encrypt ซึ่งได้รับความเชื่อถือจากทุก browser เช่น
6.เนื่องจาก Let’s Encryptre เป็น SSL แบบฟรี จึงมีอายุใช้งานเพียงแค่ 90 วัน จึงต้องมีคำสั่งให้ในการ new certificate โดยใช้คำสั่งนี้
sudo certbot renew –dry-run
*เว็บอ้างอิง https://certbot.eff.org/
*เว็บอ้างอิง https://letsencrypt.org